I felt like doing something crafty this weekend, and set out to find some containers to store my makeup brushes in on my vanity. I love mason jars, but wanted to make them a little more unique by giving them some color. I found this tutorial online and decided to give it a try! It was pretty easy and a cheap project requiring few materials.
Mason jars from the craft store. They were only $1.50 each at Michaels.
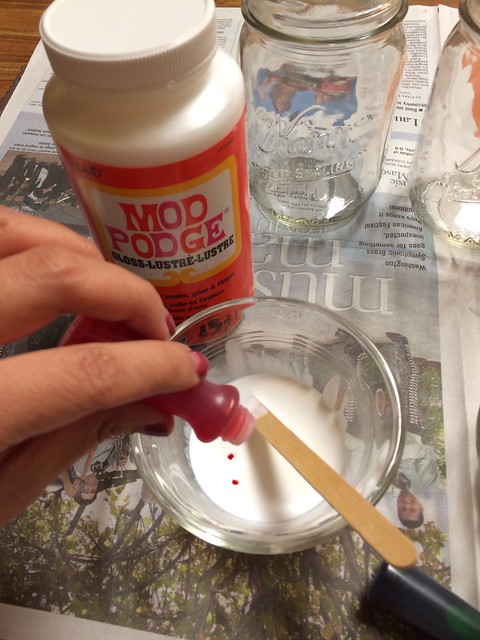
In a ramekin or small mixing bowl, mix 1 tablespoon of Mod Podge with 1/2 tablespoon water, and 7-9 drops of food coloring of whatever color you want your jar to be.
Mix well with a stirring stick. I decided to try staining the jars pink and mint. For mint, I used mostly blue food coloring with a drop of green.
Pour the Mod Podge mixtures into each jar.
Swirl the mixture around in the jars to ensure that the inside surface is completely covered. Drain out excess back into the bowls/ramekins and discard. Wipe the rims of the jars clean.
Turn the jars upside down to let the excess drip out for an hour. After that, wipe the rims of the jars again, place the jars open side up on a baking sheet and place inside an oven set on warm (approx 225 degrees F). Keep in the oven for 40 minutes, and be careful when you take them out as the jars will be hot.
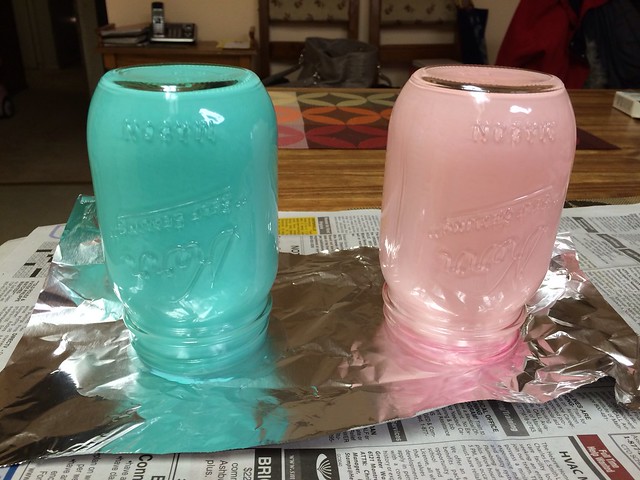
The stained jars out of the oven! I filled them with rice and stuck my brushes inside. I used one for smaller eye brushes, and used the other for larger face brushes.
Note that once the jars are colored using this method, you can’t use them for drinking/eating, nor put water or liquid in them or they’ll start peeling on the inside. They’re great for putting electric tea lights in for entertaining and event decorations, though, as well as for storing dry non-food items in as I did here.
Additional DIY from this past weekend: I loved these eyeshadows until they shattered during travel a while back. Saved them by re-pressing them using a few drops of rubbing alcohol, a tissue and a coin!


November 18, 2013 @ 1:06 pm
Beautifully done!
November 28, 2013 @ 10:08 am
Thank you for such a wonderful and easy-to-follow tutorial! I’ll definitely be making these again. ¤Öé
January 25, 2015 @ 4:32 pm
Can glitter be added to the wet mixture?
March 15, 2015 @ 4:32 am
I’m not sure, but I have a feeling it might not do well in the oven. Maybe you can add glitter after it’s been baked in the oven?