Mio is 15 weeks old today, and our little roly poly has been rolling over all over the place since she learned how earlier this week. I took multiple video clips on my phone over the past few days, and Dan helped me compile them into a video montage set to music. Enjoy! 🙂
Creative Corner
Where we discuss matters in our areas of expertise – Dan in film and Misono in design. We will also showcase some of our work here from time to time.
Mio’s Newborn Photos
Earlier this month — on Mother’s Day, actually — we had the pleasure of having the lovely, uber-talented photographer Tea Ho of Dreambox Photography over for a newborn photo session for Mio. I absolutely love how the photographs turned out, and am so grateful to Tea for capturing baby Mio and our first moments as a family so beautifully.
Here are some of my personal favorites!
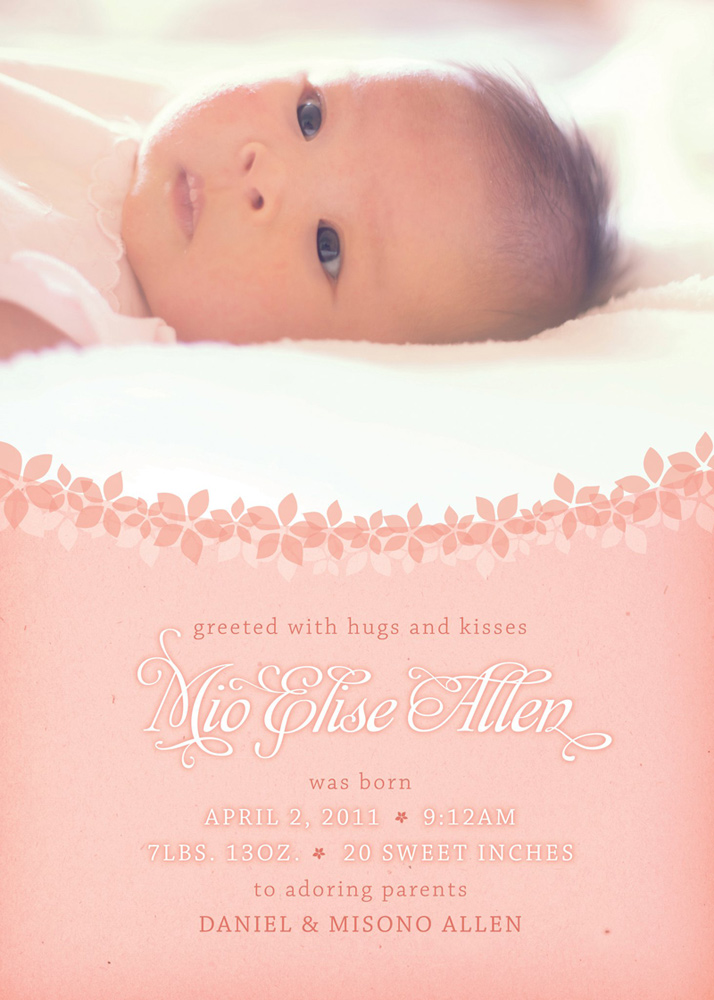
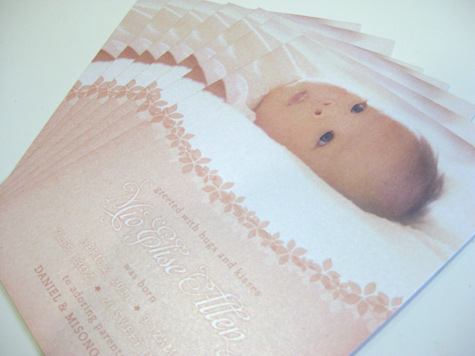
With Tea’s gorgeous photographs, I was able to design Mio’s birth announcement. I used my favorite blush tones and layered floral elements on top of a textured background to complement the photographs. I’m pretty happy with how they turned out! 🙂
We got them printed on pearlescent paper for a subtle shimmer that turned out to be a lovely touch. (My only gripe was that white text ended up disappearing a little against the background….)
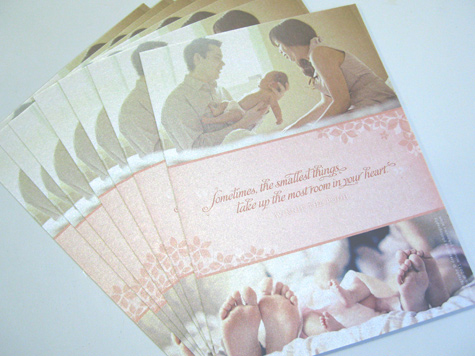
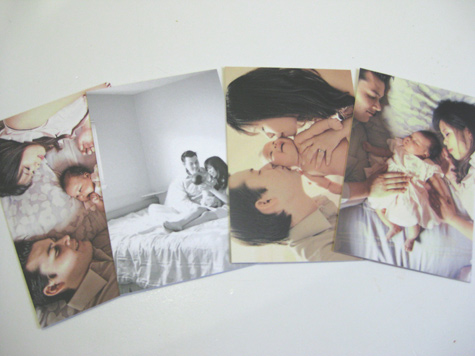
We also got some Moo Cards printed to go with the announcements. The great thing about Moo Cards is that you can have a variety of photos/images printed on one side! We had four variations for the front…
…and the back sides all had a little plug for our blog here. 🙂
Thank you to everyone who let us know they received the birth announcements in the mail, as well as those who told us how much they liked them! I had a lot of fun creating these birth announcements, especially because I had such lovely photos to work with. A huge thanks to Tea for her amazing photographs! We will treasure them in our family for years to come.
Upgraded Jib Head Demo
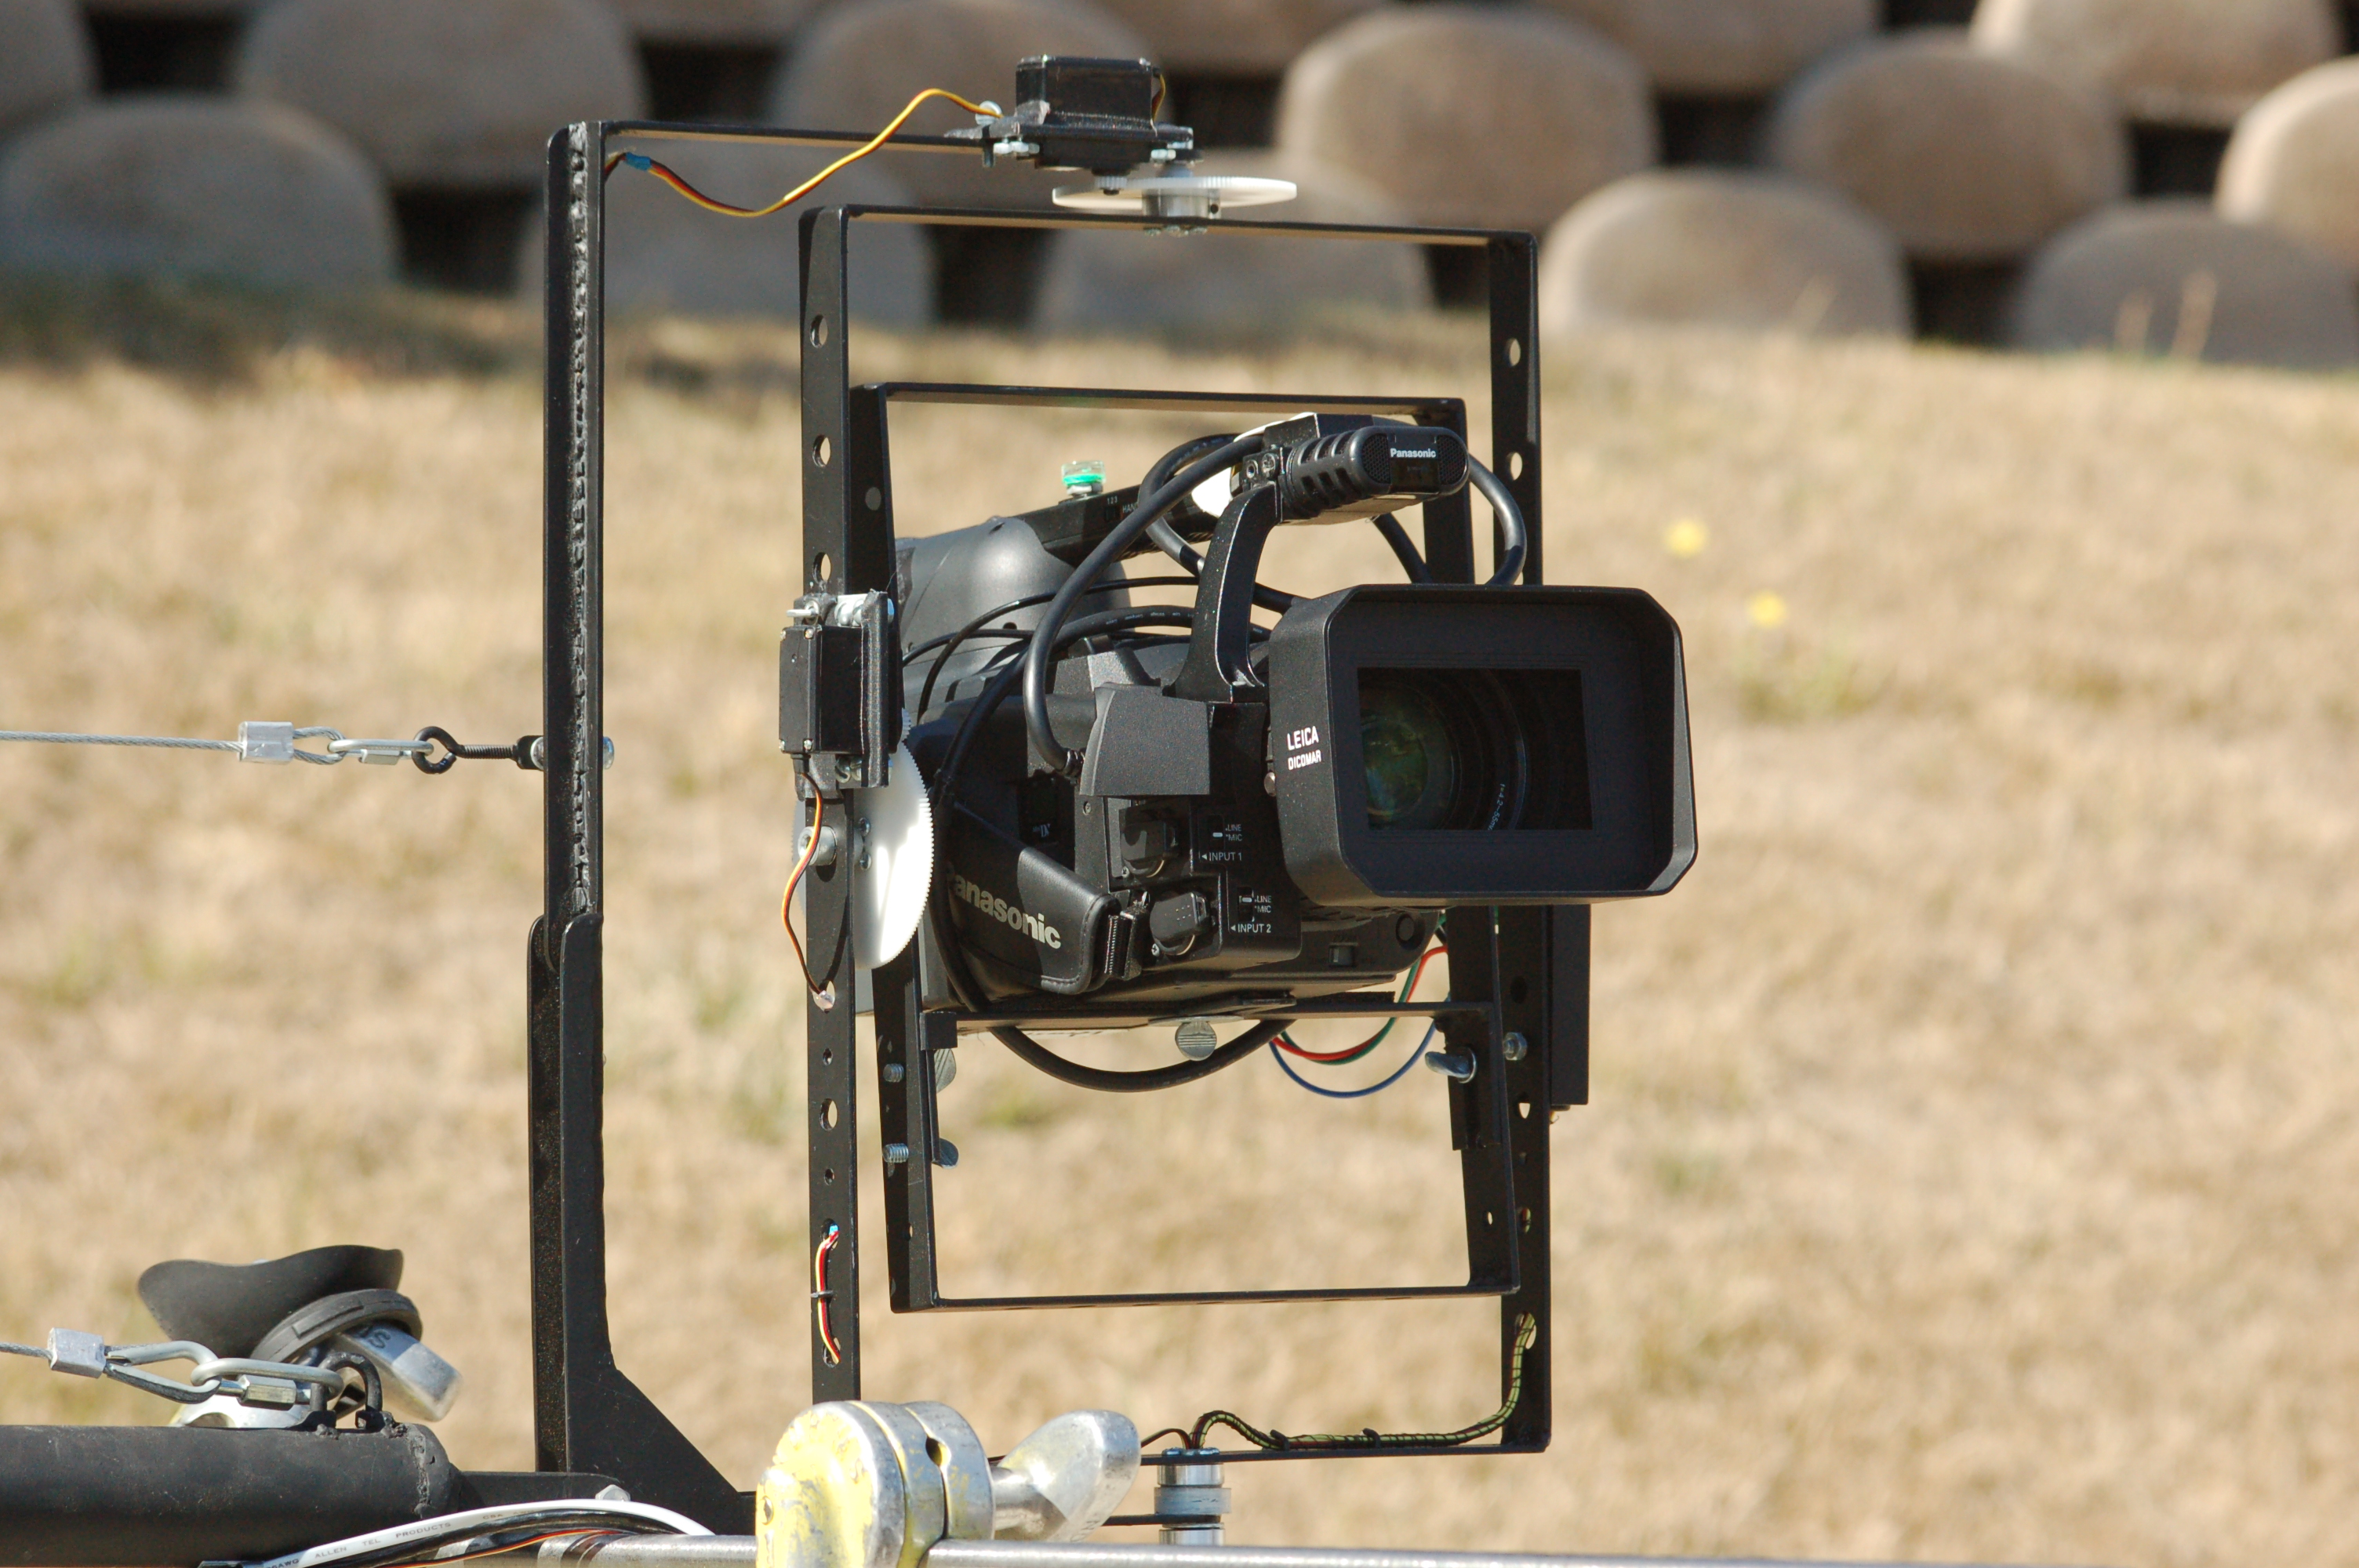
For a couple of weeks I’ve been working on upgrading the camera jib that I built a few years ago. The overall steel design will not be dramatically changed. But there will be some improvements in the cable management, digital servos, and inline remote controller. Most of which I do hope to talk about in the future. This portion of the project focused on the cable management. Having the aluminum tubes running through the jib head’s frame will allow several small cables to pass through (BNC, mini-hdmi, RCA, and even power cables. Ideally managing unwanted resistance to the movement of the servo motors.
Here is the original setup with the HVX200.
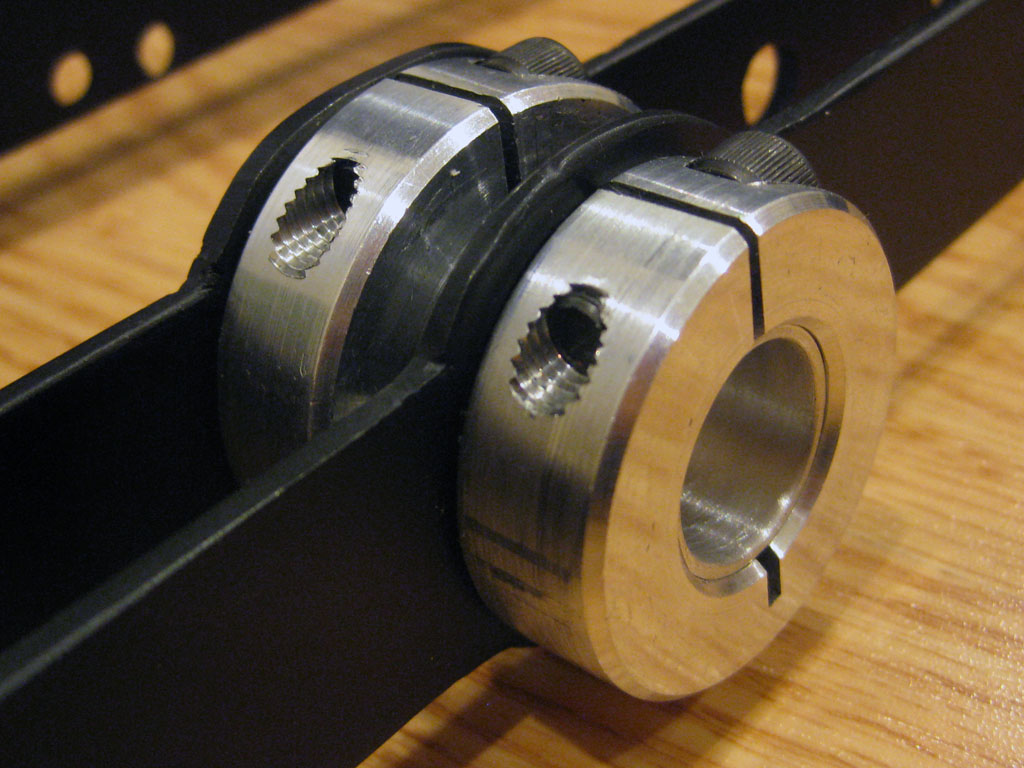
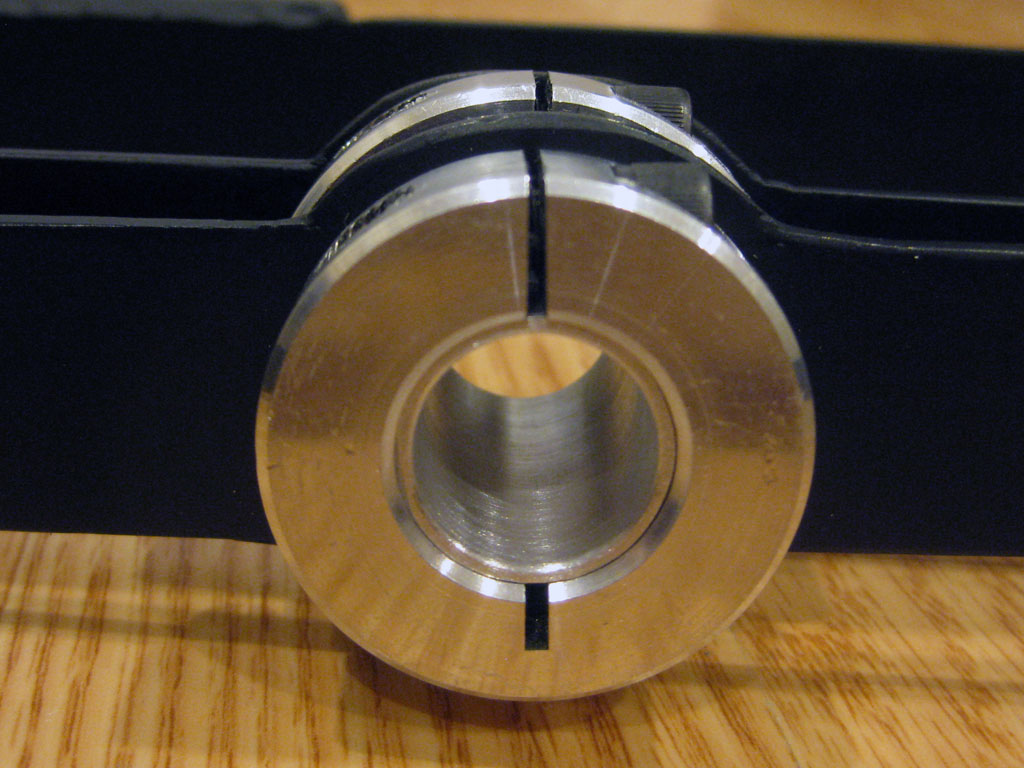
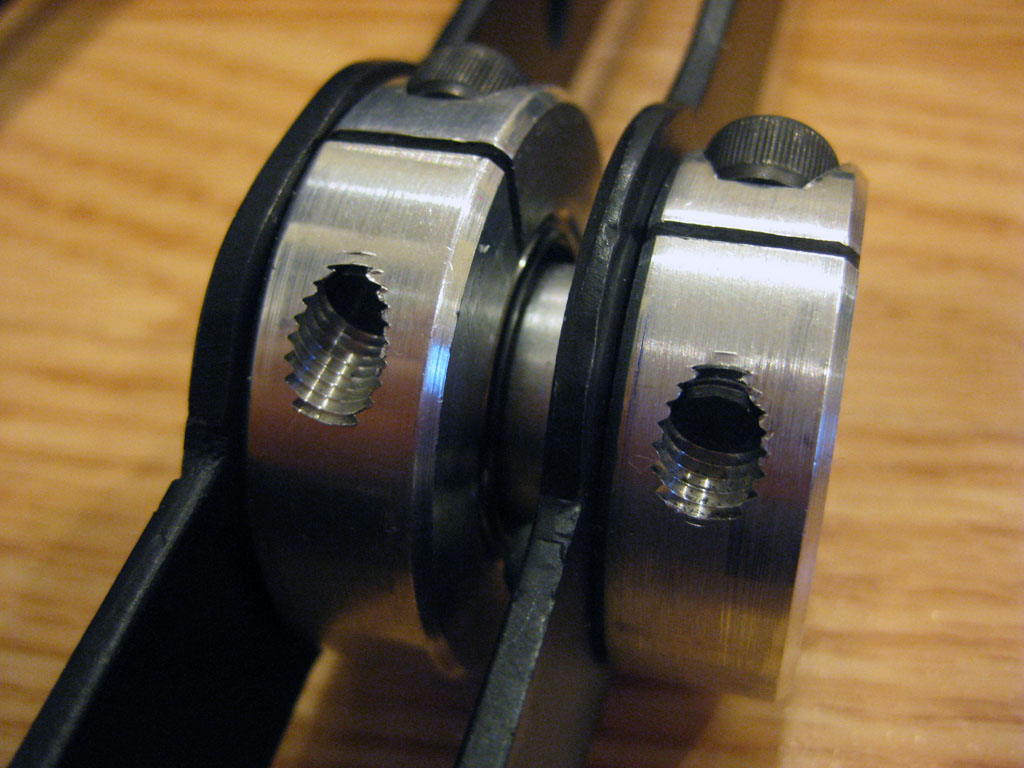
The tubes are 3/4″ OD aluminum with their 3/4″ ID collars to mount them.
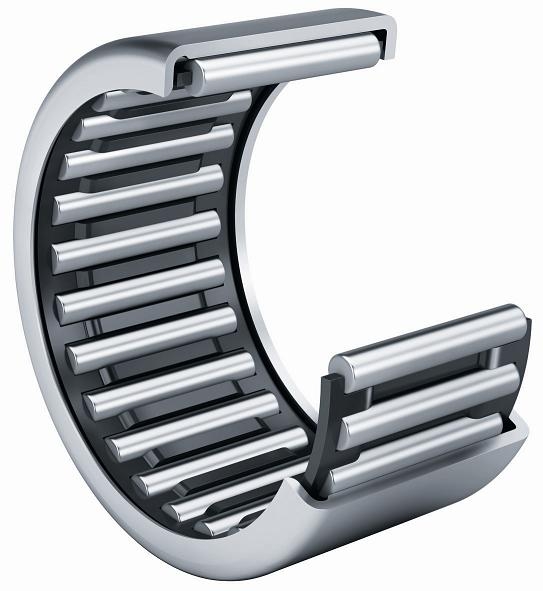
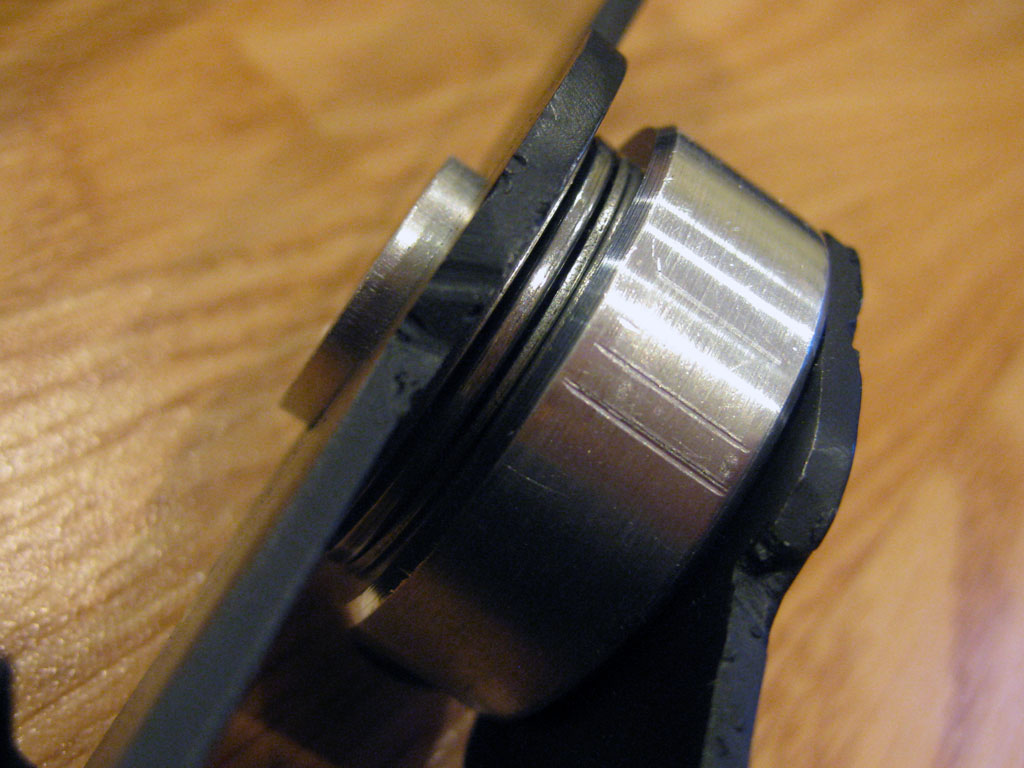
This project required 2 special bearings: the roller bearing which rolls outside of the tube…
..and thrust bearing supporting the weight of the camera.
Crazy About Cardmaking
My latest obsession that has been keeping me occupied in my free time is cardmaking! My friend and I took an introductory cardmaking workshop at Paper Source last week, where we learned how to emboss, stamp, use punches, line envelopes, among other techniques, and I had so much fun! Cards can get so expensive these days if you keep buying them in stores, and it’s so nice to be able to make custom creative cards of your own! I’ve been bitten by the bug and bought some basic tools and supplies and have been daydreaming about all the possible creations I can make! I’m still very much a beginner, but here are some of the cards I’ve made so far…
My current favorite is definitely the embossing. It produces such a cool effect, and is super easy!
Unrelated to the workshop, I also started learning to do paper quilling on my own recently, and decided to try integrating it into my cards in this one:
I even got Dan semi-interested in cardmaking, too! He made the “Bon Appetit” card to the right, below. The other two are ones I made at the workshop. 🙂
I am lucky that I work in a field where I can be creative at work, but all the time spent sitting in front of the computer and coding for hours can get a little draining after a while. I like embracing my inner grandma from time to time and working with crafts where I can create things that are more hands-on. Being a graphic designer, I’m used to the ease of designing my own holiday cards on the computer and getting them printed en masse, but this year I’m toying with the idea of handmade holiday cards….
Frosted Christmas Lights
This year was the first year that we got Christmas lights to put up, although they ended up being more for interior decoration since we live in an apartment. I’ve always preferred the colorful oversized bulbs to the mini lights that everyone has, and it looks like The Nest agrees — going bigger and bolder with your lights is becoming a trend! You just have to do it well so that it doesn’t end up looking tacky.
So Dan and I picked out some Christmas lights at the local convenience store but when we got home, we discovered to our dismay–or more to my dismay–that they were actually not as opaque as we had anticipated. In fact, they were totally translucent and you could clearly see the filament within.

The easy (and probably normal) thing to do in this situation would be to go back to the store and return them, but we decided to be a little creative with the mishap and try making them not translucent nor opaque, but frosted! You don’t see too many oversized frosted bulbs being sold, so we decided to “make” them ourselves.

Converting the Christmas lights into frosted lights was super easy. So easy, in fact, that this probably didn’t really warrant a post… haha* But it was a fun little collaborative project for the two of us. If anyone ever wants frosted lights but can’t find any, you know what to do!

